Connect Looker Studio to Neon
Looker Studio is Google's data visualization and business intelligence platform. This guide explains how to connect your database to Looker Studio using a PostgreSQL data source. Get your database con...
Looker Studio is Google's data visualization and business intelligence platform. This guide explains how to connect your database to Looker Studio using a PostgreSQL data source.
Get your database connection string
- In the Neon Console, select the project and branch you want to connect to.
- Click Connect in the Console nav.
- Click Show Password and copy the connection string.
For more details, see Connect from any application.
Add a PostgreSQL data source in Looker Studio
- In Looker Studio, Create > Data Source.
- Search for and select the PostgreSQL connector, and authorize it.
- In the Basic section, fill in the fields using the details from your connection string.
For example, if your connection string is:
Bash psql 'postgresql://neondb_owner:AbC123dEf@ep-quiet-mountain-a1t1firv-pooler.ap-southeast-1.aws.neon.tech/neondb?sslmode=require&channel_binding=require'You would enter:
- Host name or IP:
ep-quiet-mountain-a1t1firv-pooler.ap-southeast-1.aws.neon.tech - Port (optional): Leave blank
- Database:
neondb - Username:
neondb_owner - Password:
AbC123dEf
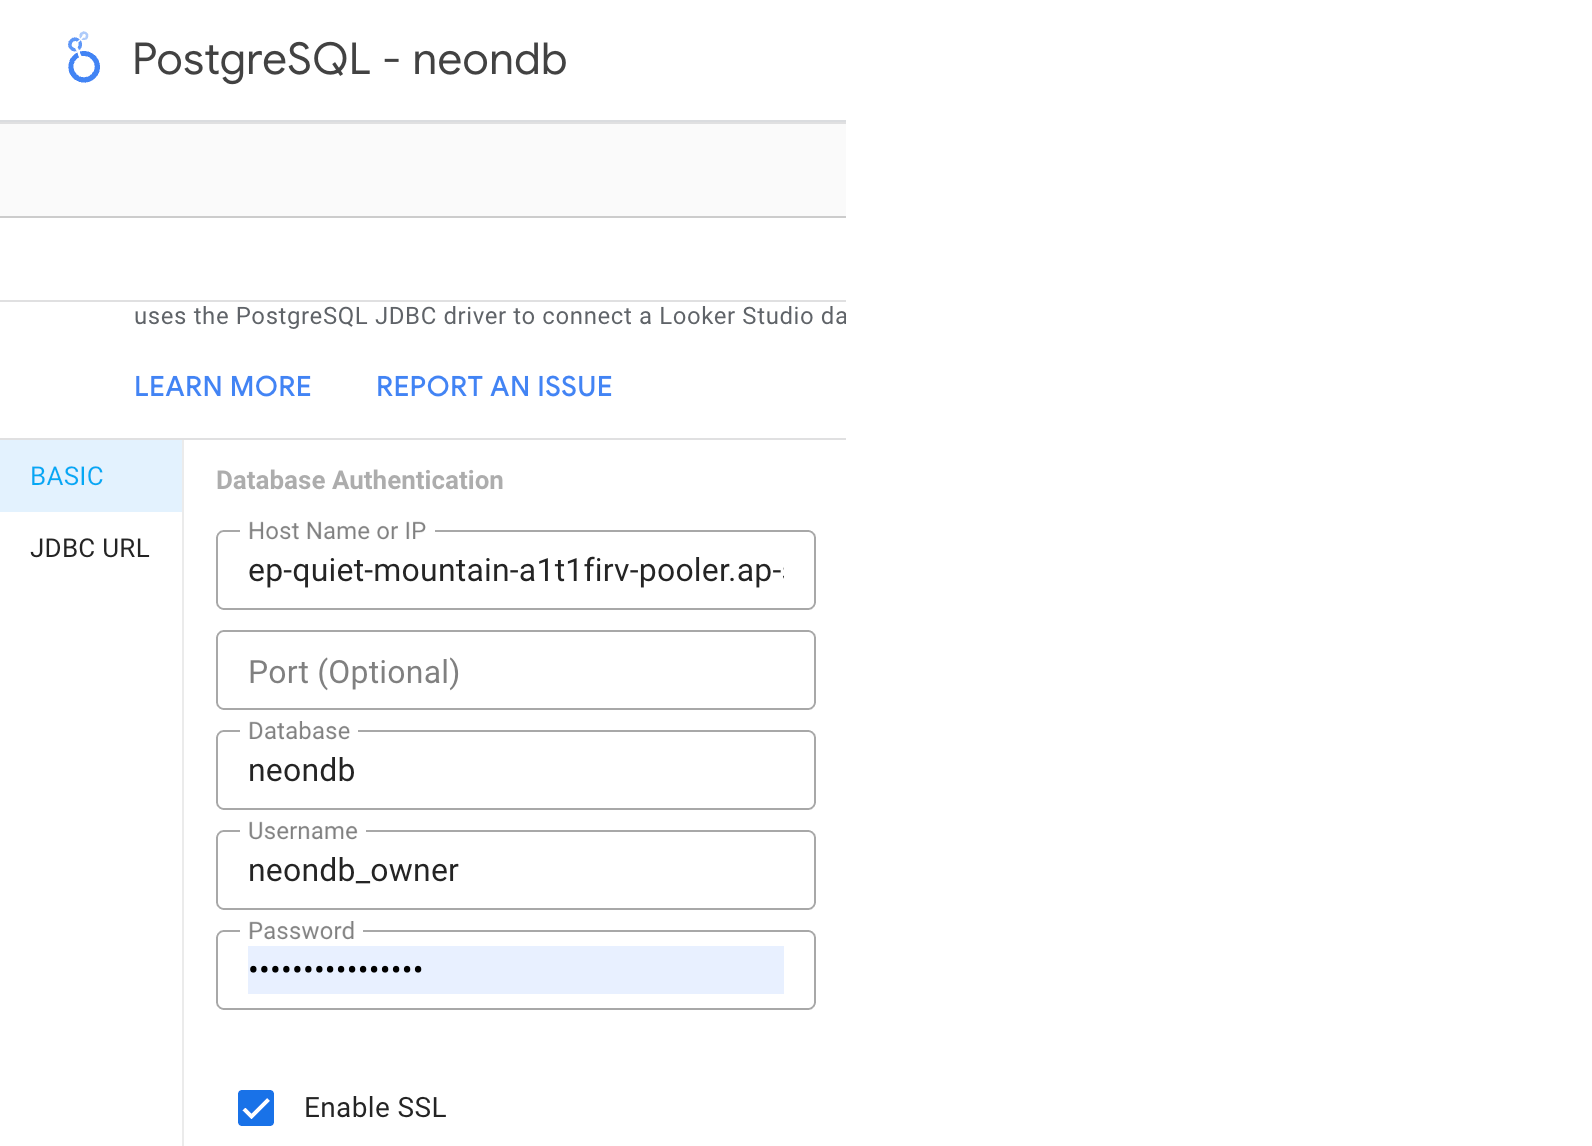
- Host name or IP:
Configure SSL settings
- Ensure Enable SSL is checked.
- Leave Enable client authentication unchecked.
Upload the server certificate
- Download the
isrgrootx1.pemfile from https://letsencrypt.org/certs/isrgrootx1.pem. For more information about SSL certificates, see Connect to Neon securely. - In Looker Studio, upload the
isrgrootx1.pemfile using the Upload button next to the Server Certificate box.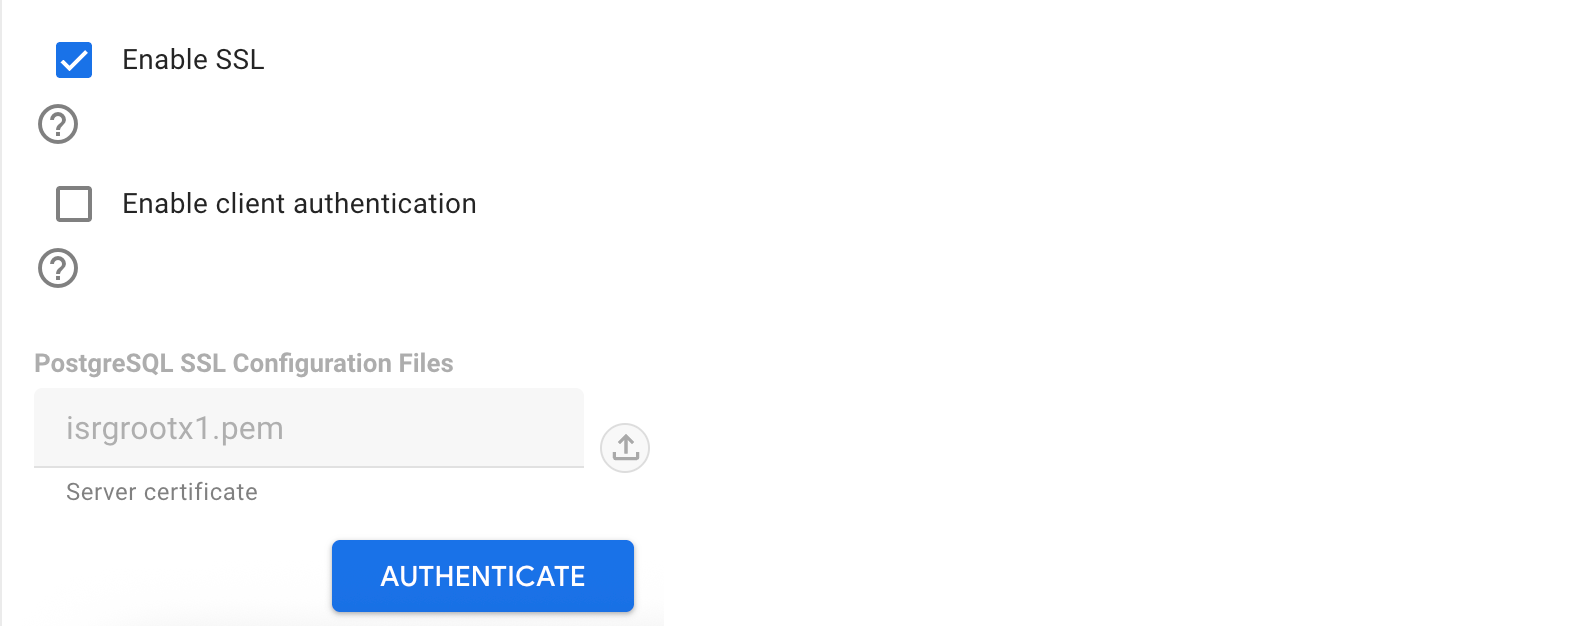
- Download the
Authenticate
Click Authenticate to verify the connection. If successful, you will see your Neon tables listed in Looker Studio. In this example, there is one table listed: the
playing_with_neonexample table.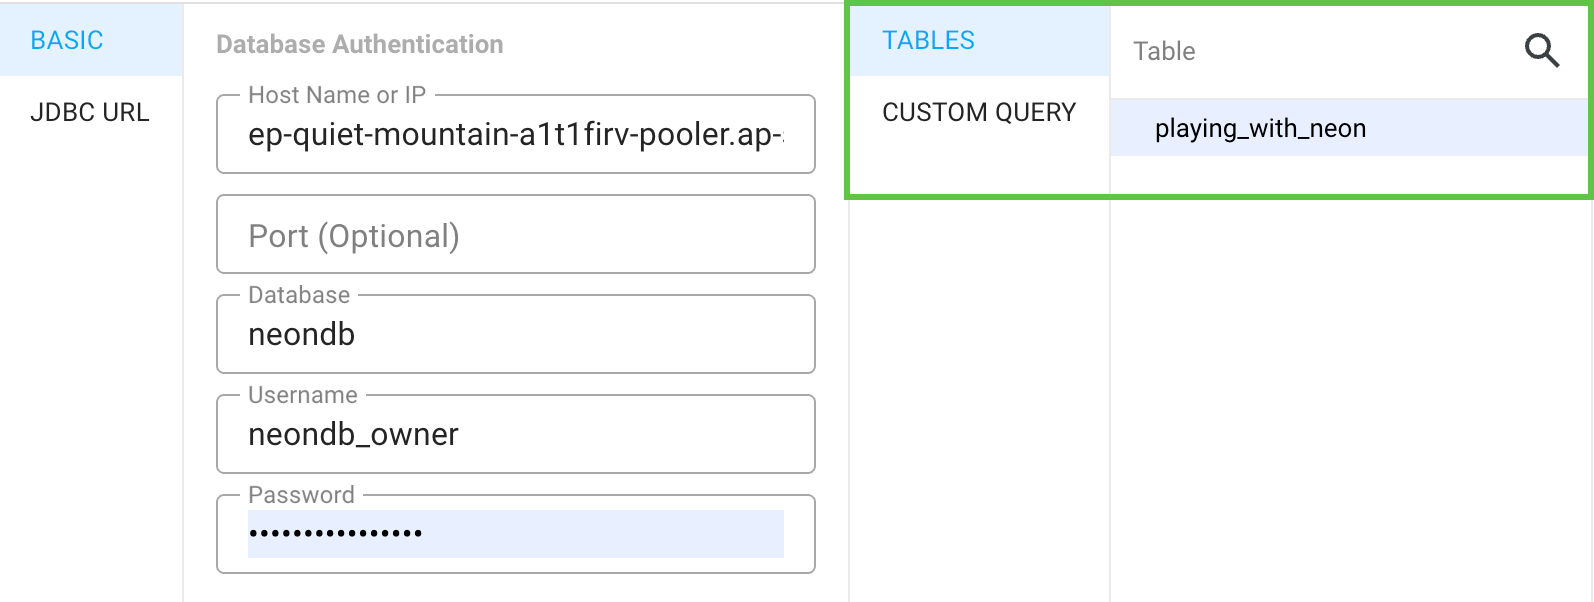
Connect
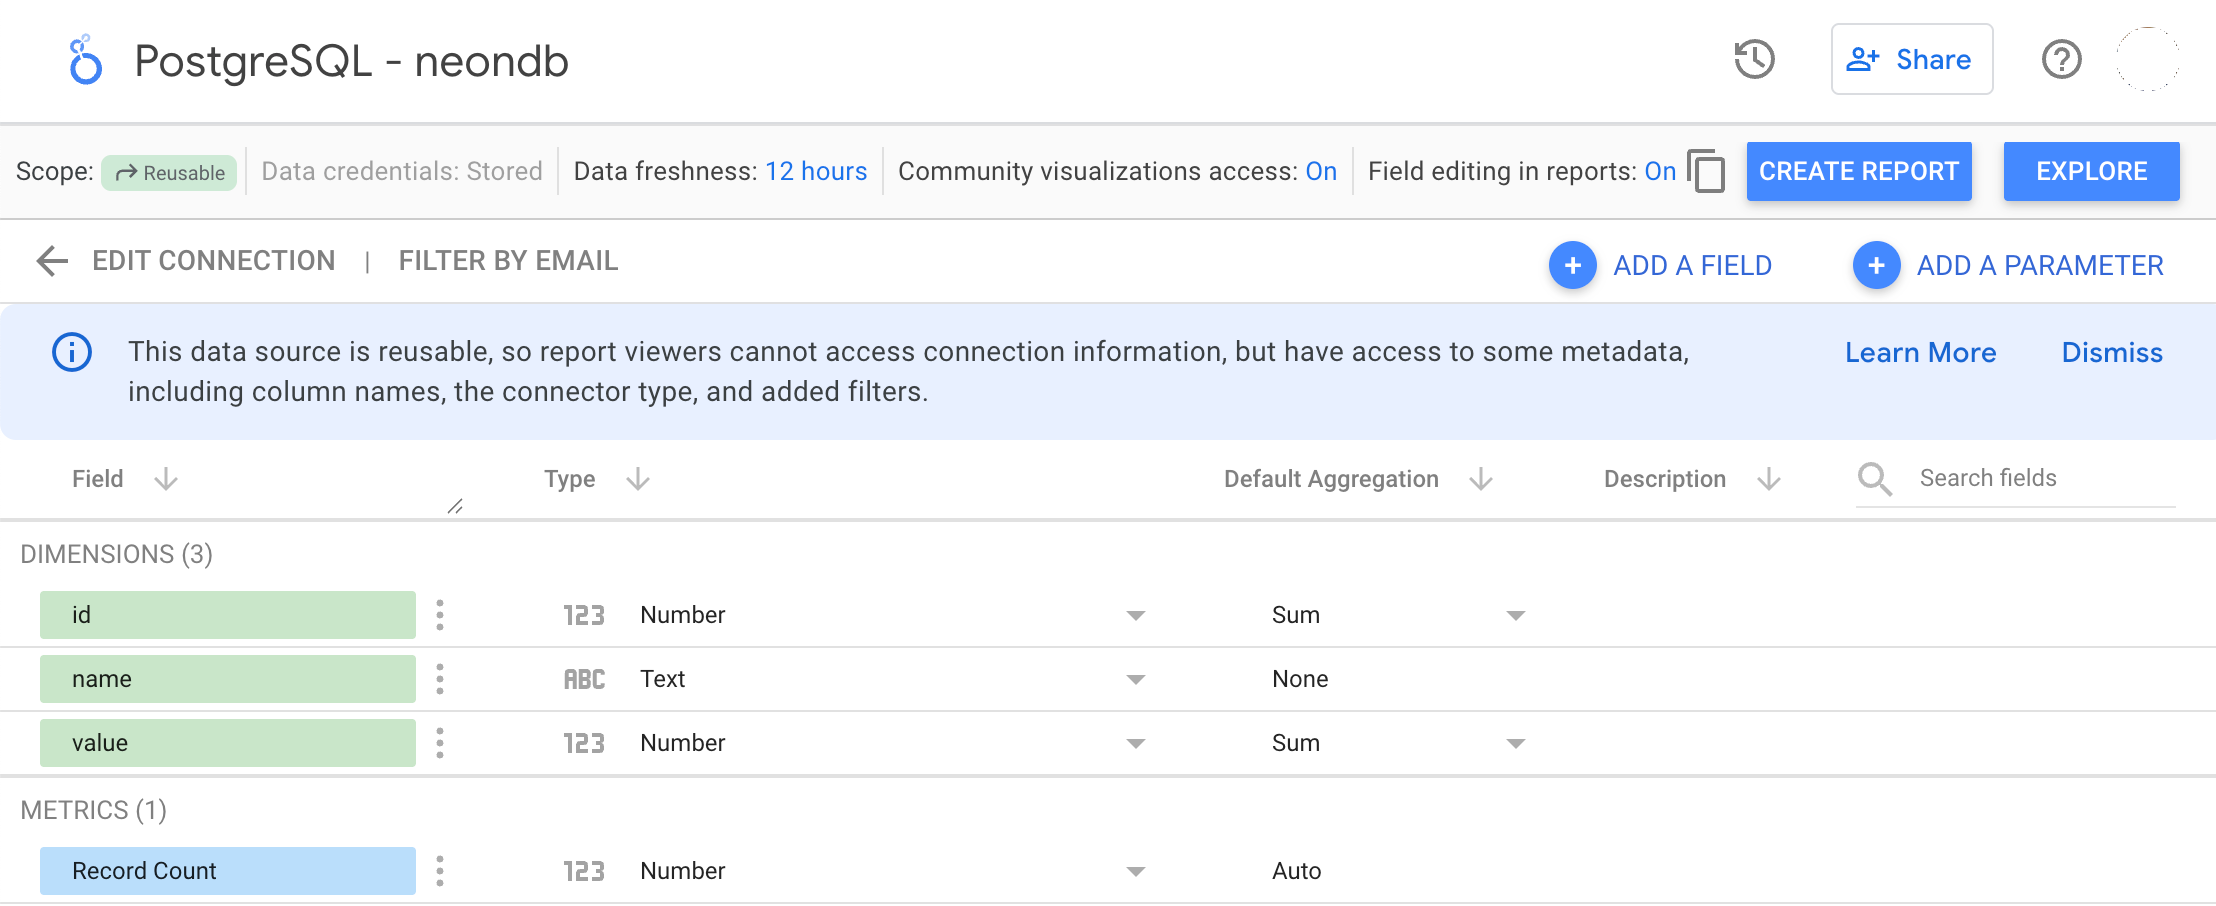
Click the Connect button in Looker Studio to view table details.
Need help?
Section titled “Need help?”Join our Discord Server to ask questions or see what others are doing with Neon. For paid plan support options, see Support.