Connect an Encore application to Neon
Encore is a backend development framework that uses static analysis and type safe primitives to provide automatic infrastructure provisioning, distributed tracing, and API documentation. This guide sh...
Encore is a backend development framework that uses static analysis and type-safe primitives to provide automatic infrastructure provisioning, distributed tracing, and API documentation. This guide shows you how to use Neon with Encore for production deployments.
Prerequisites
Section titled “Prerequisites”- Encore CLI installed
- A Neon account
- Docker Desktop running (for local development)
Install Encore
Install the Encore CLI.
macOS brew install encoredev/tap/encoreLinux curl -L https://encore.dev/install.sh | bashWindows iwr https://encore.dev/install.ps1 | iexCreate an Encore application
Create a new Encore application using the CLI.
Bash encore app create my-neon-appSelect TypeScript as the language and choose the template that fits your needs (for example, URL Shortener or Empty app).
Navigate to your app directory.
Bash cd my-neon-appDefine your database schema
If you started with an empty app, set up your database.
- Create a service directory and service definition (
hello/encore.service.ts).TypeScript import { Service } from 'encore.dev/service'; export default new Service('hello'); - Create a database configuration file (
hello/db.ts).TypeScript import { SQLDatabase } from 'encore.dev/storage/sqldb'; export const db = new SQLDatabase('hello', { migrations: './migrations', }); - Create a migration file (
hello/migrations/1_create_table.up.sql).SQL CREATE TABLE messages ( id BIGSERIAL PRIMARY KEY, text TEXT NOT NULL, created_at TIMESTAMP NOT NULL DEFAULT NOW() ); - Create API endpoints (
hello/hello.ts).TypeScript import { api } from 'encore.dev/api'; import { db } from './db'; interface Message { id: number; text: string; created_at: Date; } export const create = api( { expose: true, method: 'POST', path: '/messages' }, async (req: { text: string }): Promise<Message> => { const row = await db.queryRow<Message>` INSERT INTO messages (text) VALUES (${req.text}) RETURNING id, text, created_at `; if (!row) throw new Error('Failed to create message'); return row; } ); export const list = api( { expose: true, method: 'GET', path: '/messages' }, async (): Promise<{ messages: Message[] }> => { const rows = await db.query<Message>` SELECT id, text, created_at FROM messages ORDER BY created_at DESC `; const messages: Message[] = []; for await (const row of rows) { messages.push(row); } return { messages }; } );
- Create a service directory and service definition (
Run locally
Start your Encore application.
Bash encore runEncore automatically provisions a local PostgreSQL database for development. Your API will be available at
http://localhost:4000and the development dashboard athttp://localhost:9400.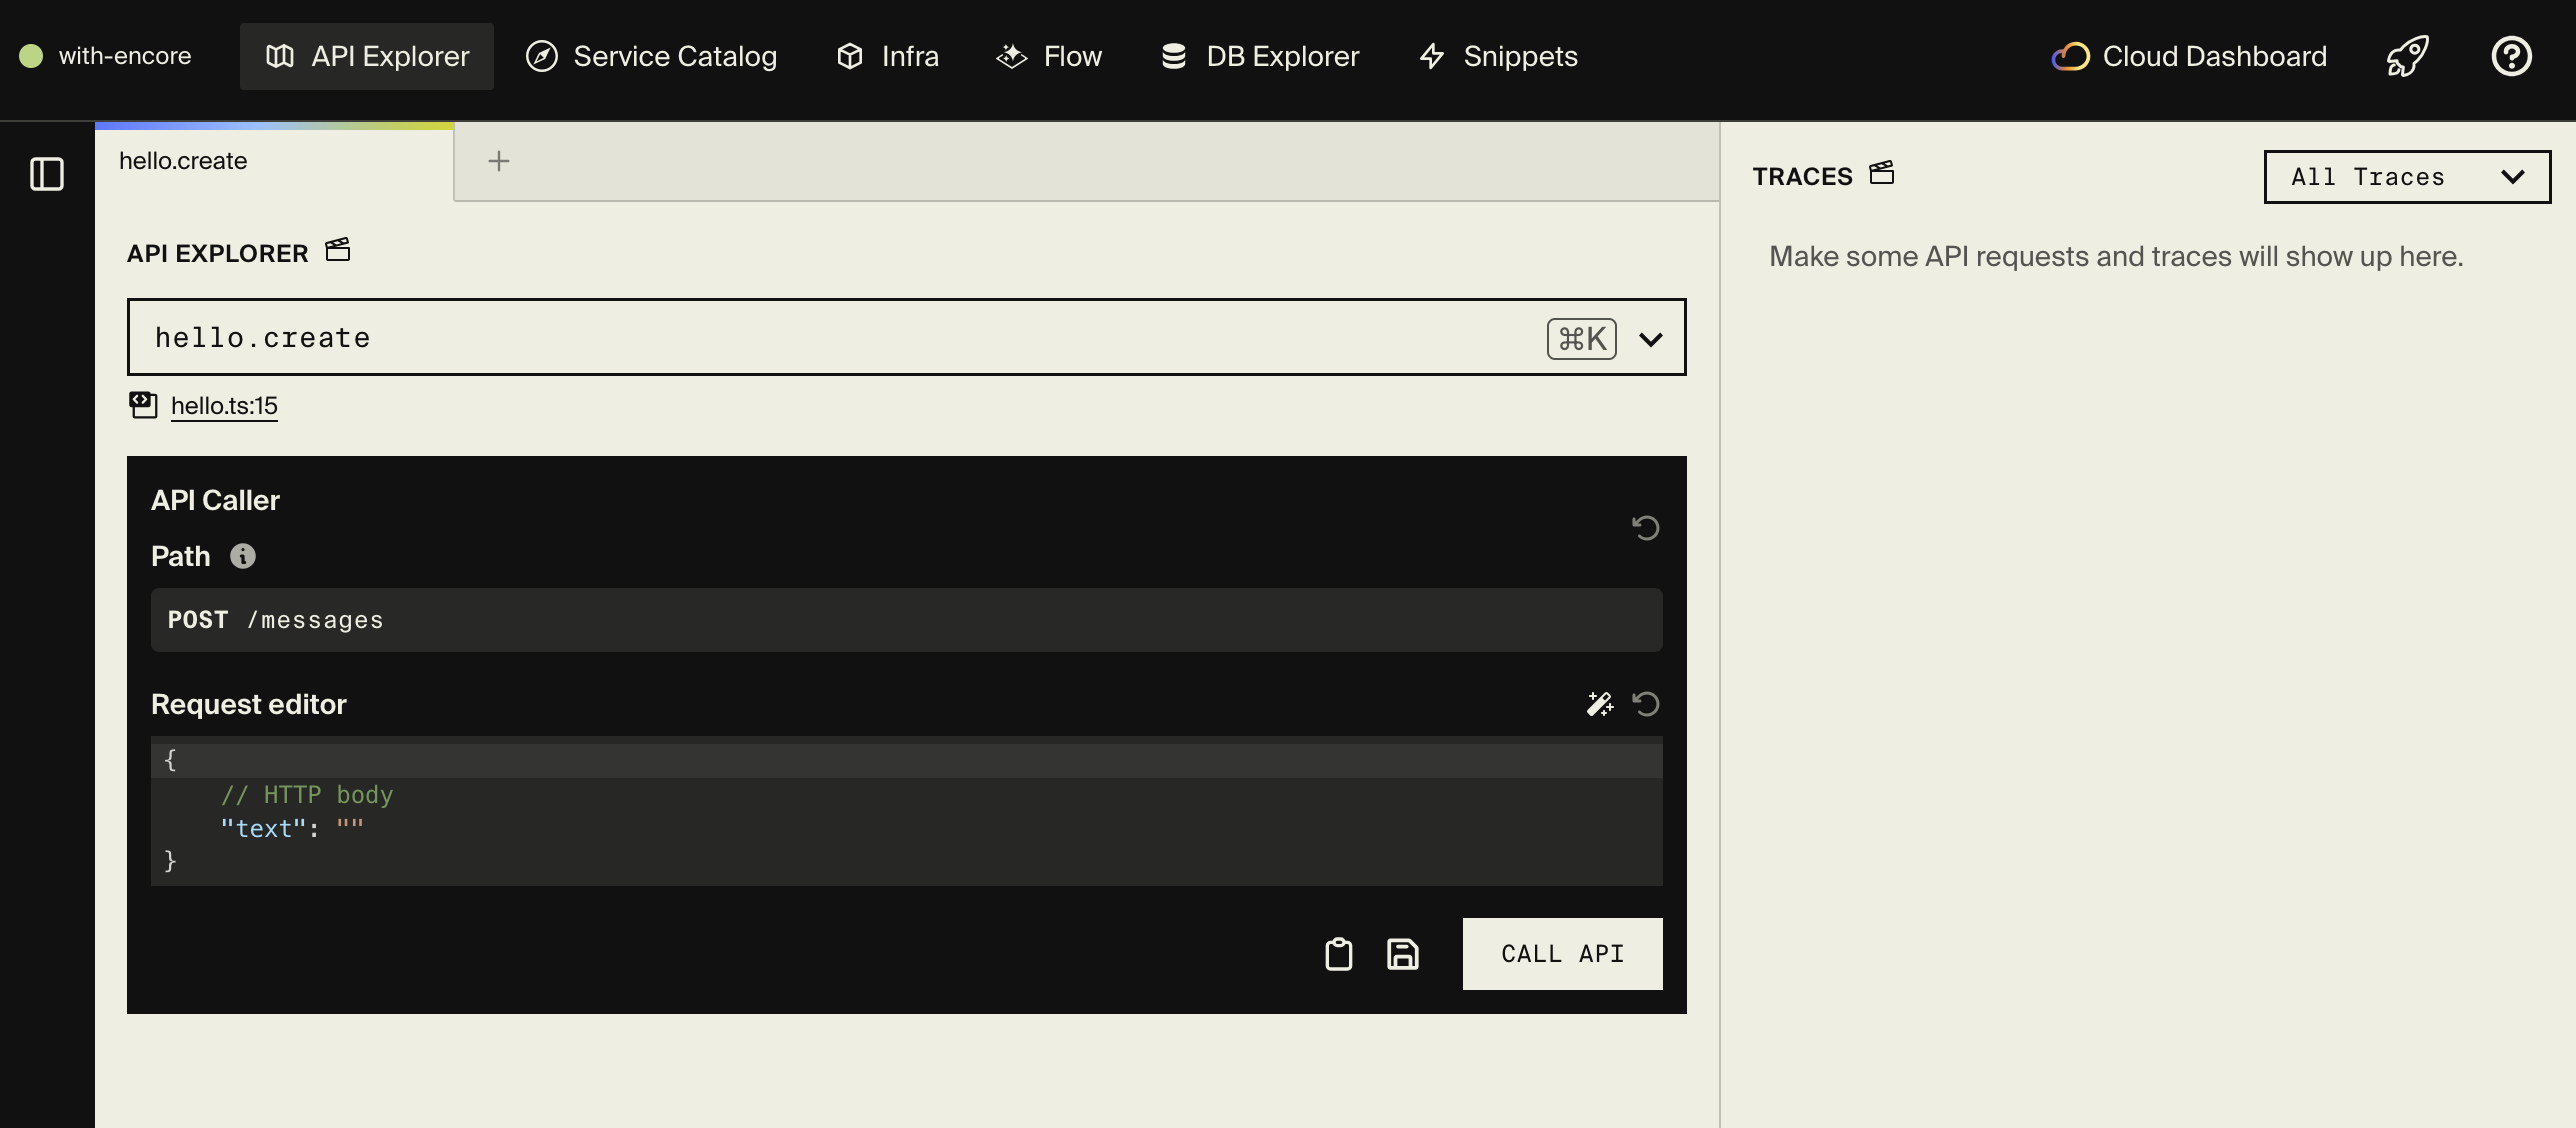
Test your endpoints using the API Explorer in the dashboard, or by running this command.
Bash curl -X POST http://localhost:4000/messages \ -H "Content-Type: application/json" \ -d '{"text": "Hello from Encore!"}'Deploy to staging
Push your code to deploy to Encore's staging environment.
Bash git add -A git commit -m "Initial commit" git push encoreThis creates a staging environment with an Encore-managed database.
Configure Neon for production
To use your Neon account for production databases.
- Create a Neon API Key.
- Go to your Neon Console.
- Create a new API key and copy it. See Manage API keys for more information.
- Add the API key to Encore.
- Open your app in the Encore Cloud Dashboard.
- Navigate to Settings → Integrations → Neon.
- Paste your Neon API key and click Save.
- Create a production environment.
- In the Encore dashboard, click Create Environment.
- Name it
production. - For the database provider, select Neon.
- Choose your preferred region.
- Click Create.
- Create a Neon API Key.
Deploy to production
Deploy your application to the production environment.
Bash git push encoreEncore will do the following.
- Create a Neon database in your account
- Run your migrations automatically
- Deploy your application
- Configure all connections
You can verify the database was created by checking your Neon Console; you'll see a new database created by Encore with your migrations applied.
Preview Environments with Neon Branching
When you connect your Encore app to GitHub and enable preview environments, Encore automatically creates a new Neon database branch for each pull request. This gives each PR its own isolated database with a copy of your production data, allowing you to test database migrations and schema changes safely before merging to production.
Source code
Section titled “Source code”You can find a complete Encore + Neon example application on GitHub:
Learn more
Section titled “Learn more”- Encore Documentation
- Encore SQL Databases
- Encore Cloud + Neon Integration
- Blog post: Building Production API Services with Encore and Neon
Next steps
Section titled “Next steps”- Set up Managed Better Auth: Add managed authentication that branches with your database
- Add Object Storage: S3-compatible file storage that branches with your database
- Deploy a Function: Run backend compute next to your database, no separate hosting needed
- Call an LLM with AI Gateway: Access foundation models from Anthropic, OpenAI, Google, and more with one credential
Need help?
Section titled “Need help?”Join our Discord Server to ask questions or see what others are doing with Neon. For paid plan support options, see Support.